 Level Up Makers
If you have been looking for a homeschool coding curriculum for kids ages 9–12, you can run it without knowing how to code. You need a computer, a browser, and sessions short enough that your child still wants to come back. This plan is homeschool coding with MakeCode Arcade, Microsoft's free game editor at arcade.makecode.com. There is nothing to install, and a child does not need an account to start.
Use it for 10 weeks, two or three times a week. Keep each sitting to about 25–40 minutes. What Is MakeCode Arcade? is a short tour of the editor. If you are still choosing a first tool, MakeCode Arcade vs Scratch lays out the differences.
What you set up once
Open arcade.makecode.com and leave the tab up. The project saves in that browser. Signing in, with your own Microsoft or Google account, is for cloud saving. Press the download button before you close the tab. Clearing browser data can erase a project that was never downloaded.
Keep a pencil nearby. One line at the end is enough: the game's name, and one thing to try next time. Your child draws the character. Famous characters stay out. They can borrow a feeling they like, fast or sneaky, and then invent someone new.
The order of ideas
Stay with each idea until your child can point at the blocks and say what they do.
- Sequence. Blocks inside "on start" run from top to bottom, once, when the game begins.
- Events. An event runs when something happens, such as a button press.
- Variables. A score, a timer, or a life count is a named value the game can change.
- Conditionals. If the hero touches the coin, add a point. If the hero touches the hazard, lose a life.
- Loops. A forever loop keeps going after "on start" has finished.
- Debugging. Change one thing, press play, and say what changed.
- Playtesting. Someone else plays. Your child watches.
Microsoft mixes these ideas in the free Beginner Skillmap. The page for educators and parents calls that path the Beginner's Guide to Arcade Games: 11 short tutorials over 5 sessions, written for ages 11 to 15, on stories, clicker games, and collector games. A 9- or 10-year-old can do them with you nearby, with extra time for drawing and fixing.
Two other free tutorials fit this plan. Both are on the tutorials list: Intro to MakeCode Arcade and Chase the Pizza.
A 10-week plan
If a tutorial ends early, change the picture, the words, or one rule, and leave the next idea for later.
Week 1: Learn the screen
Do Intro to MakeCode Arcade together so they see the toolbox, the workspace, and the game window. Then they draw one original character in a new project. The week is done when they can find a block, snap it in, and press play.
Week 2: Sequence
On the Beginner Skillmap, do Greeting Card, then Bigger Greeting. Have them read the "on start" stack from top to bottom before pressing play, then rewrite the message so it sounds like them.
Week 3: Events
Do Joking Around, or the first clicker game on that skillmap. Blocks inside a button event wait until the button is pressed. Ask what happens if they never press it.
Week 4: Variables
Stay with the clicker games. A rising score and a countdown are variables. Have them name the number in this game, such as "pizzas eaten" or "jokes told."
Week 5: Conditionals
Build Chase the Pizza, or Traffic Dodger on the skillmap. Touching one sprite does one thing, and touching another does something else. Then change who gets caught and what is collected. If the score will not move, check the overlap block. Chase the Pizza shows a score that climbs too fast, then moves the pizza to fix it.
Week 6: Loops
Dino Hoard uses a forever loop so new sprites keep appearing. Ask them to point at the loop and name one block inside it that runs again and again.
Week 7: Debugging
Reopen a game that is wrong or dull. Pick one complaint. Change a single block or number, then press play. Undo that change if the game got worse.
Week 8: Playtesting
Someone who did not build the game plays it. You can be that player. Your child watches, then writes three lines: what was fun, what was confusing, and one fix. The next session is that fix.
Week 9: Their own game
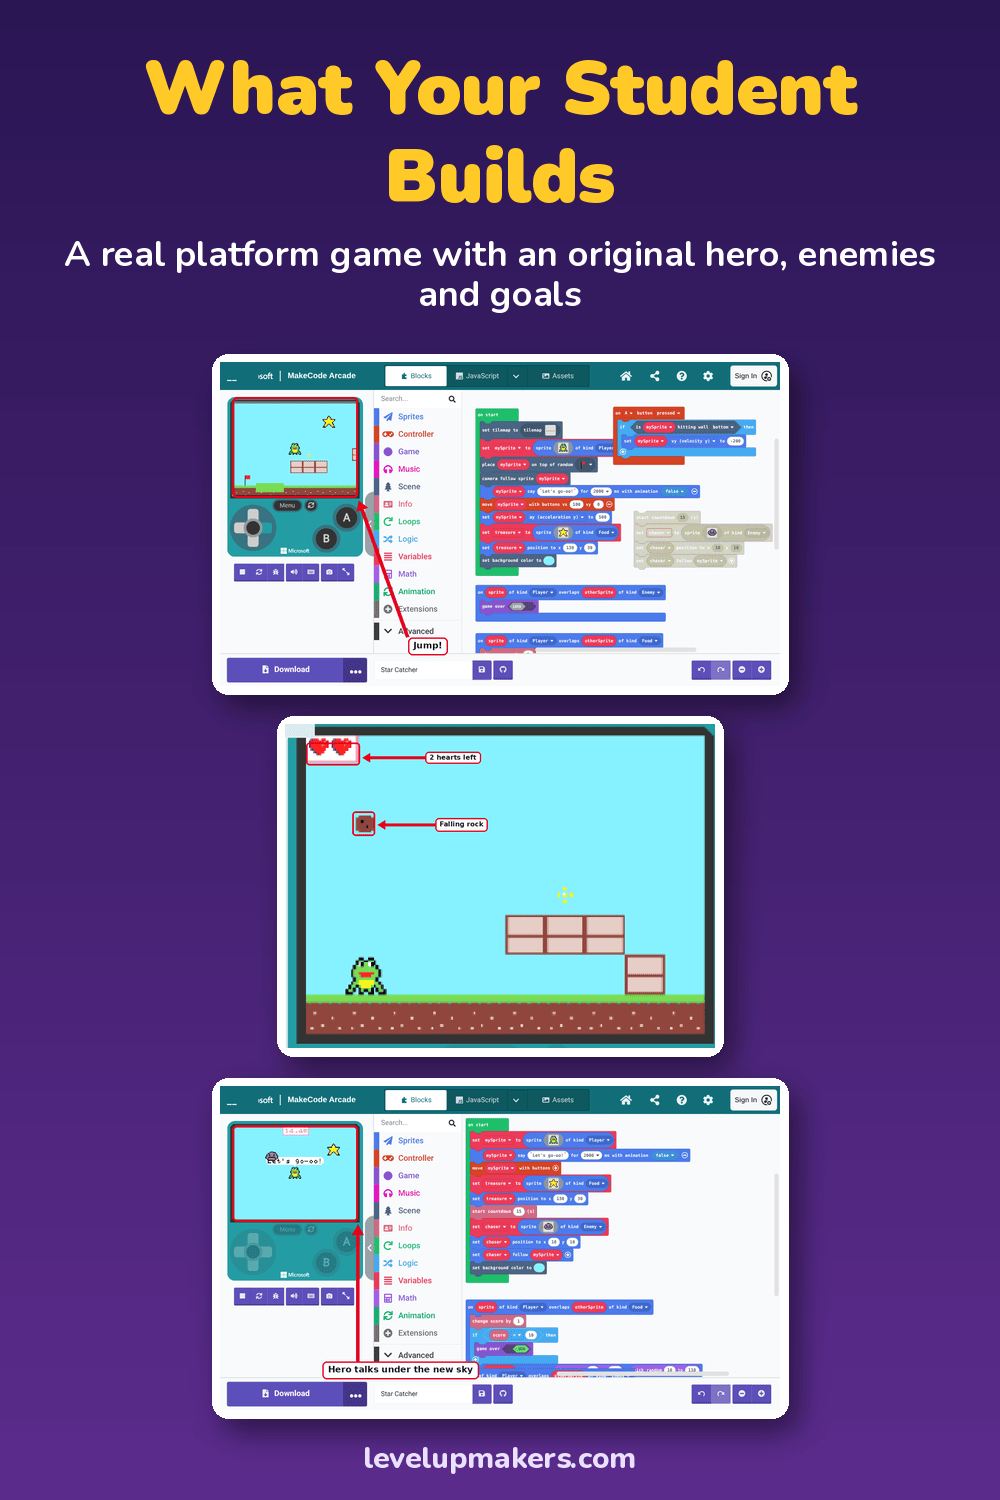
Open a blank project: one character, one goal, one way to lose. They may reuse a score, a button, an overlap, or a loop. They choose the idea. You hold the "one goal" limit. For a written version of that first original game, with screenshots, Level 1 is free to read and print. The hero moves, grabs an item, scores points, and races a clock. How to Help Your Child Make a Game This Weekend packs a first sitting into two days.
Week 10: Show the work
Download the games you want to keep. Your child picks one and explains it with their hands off the mouse: what runs first, what the player does, which number changes, and how the game ends. That talk is the review.
If a week falls apart, repeat it. What Your Child Builds in 10 Levels is a different path: one platform game that grows from a first sprite to a game the family can play. Use it when they want a single longer project.
What one session looks like
Your child says the goal in one sentence. "Today the score goes up when I touch the star." Then they build. Sit where you can see the screen, read a step when they ask, and point at the toolbox. The mouse stays with them, including the minute a block is in the wrong spot.
Leave about five minutes at the end. Each of you names one thing that worked and one thing for next time. Download the project, write the one-line note, and stop while they still want another turn.
How to see progress without quizzes
Skip a vocabulary test. Three signs are enough.
They can explain the code. Point at a stack. "When the button is pressed, the score goes up by one" means the idea landed. "The computer does it" means stay with that idea next time.
Someone else can play it. If the new player needs the maker to press the keys, a rule is still hidden. The three lines from week 8 are the record of that.
You have a small portfolio. A folder of downloaded games, each with a one-line note, is the semester's record. Three games they can tell apart is a solid result at this age. So is one careful game they can explain from the blocks.
When they get stuck
- The idea is too big. One screen, one goal. A shop and a boss can wait.
- They cannot find a block. In a tutorial, the colored name opens the right drawer. In a blank project, use the toolbox search.
- The tutorial is done and they are bored. The skillmap notes after some games suggest one change: a new sprite, a new line, a different scene. That change fills the rest of the sitting.
- The project vanished. It was only in that browser. Download as you go. Cloud saving uses your account.
- You want to fix it. Ask which block runs when that happens, and wait.
- They want to quit mid-tutorial. Save, download, and stop. Open the same project next time.
Keep the choices with your child
You pick the week's idea. They pick the theme, the character, and the rule. Offer two choices that teach the same thing: a joke on the A button, or a score on the A button. When they light up over their own joke or creature, give that session to the idea and return to the plan next time. End on something that worked.
If you want the steps written out
The free tutorials above are enough to run this plan. If you would rather follow screenshots and grown-up steps, Level 1 is free to read and print. The rest of Level Up: Make Your First Game with AI is on the book page. The PDF is $15 and available now for immediate download. The paperback is on Amazon.
Microsoft and MakeCode are trademarks of the Microsoft group of companies. Level Up Makers is not sponsored or endorsed by Microsoft.
© 2026 Level Up Makers. All rights reserved.